

Lights, Camera, Action!
Measure twice, cut once.

Hello, earlier in the article"Camera calibration process using Radiant Metrics service" we learned about how the camera calibration process occurs, but we did not go into the details associated with preparing for filming, as this would take us away from the stated topic and now we will try to understand how preparation will help us avoid an excessive number of takes to get an excellent result!
When I was just starting my journey in camera calibration, it was a mystery to me why I got very different results after shooting two datasets with the same camera, for example, a dataset of 10 files could give a smaller error than a dataset of 20 files. I was worried about where I was making mistakes, doing more and more experiments and analyzing the data on the graphs, and I found the answers for myself, which I want to share with you.
Lighting
Proper Lighting in the Shooting Area is Half the Battle. This thought came to me after analyzing charts like this one.
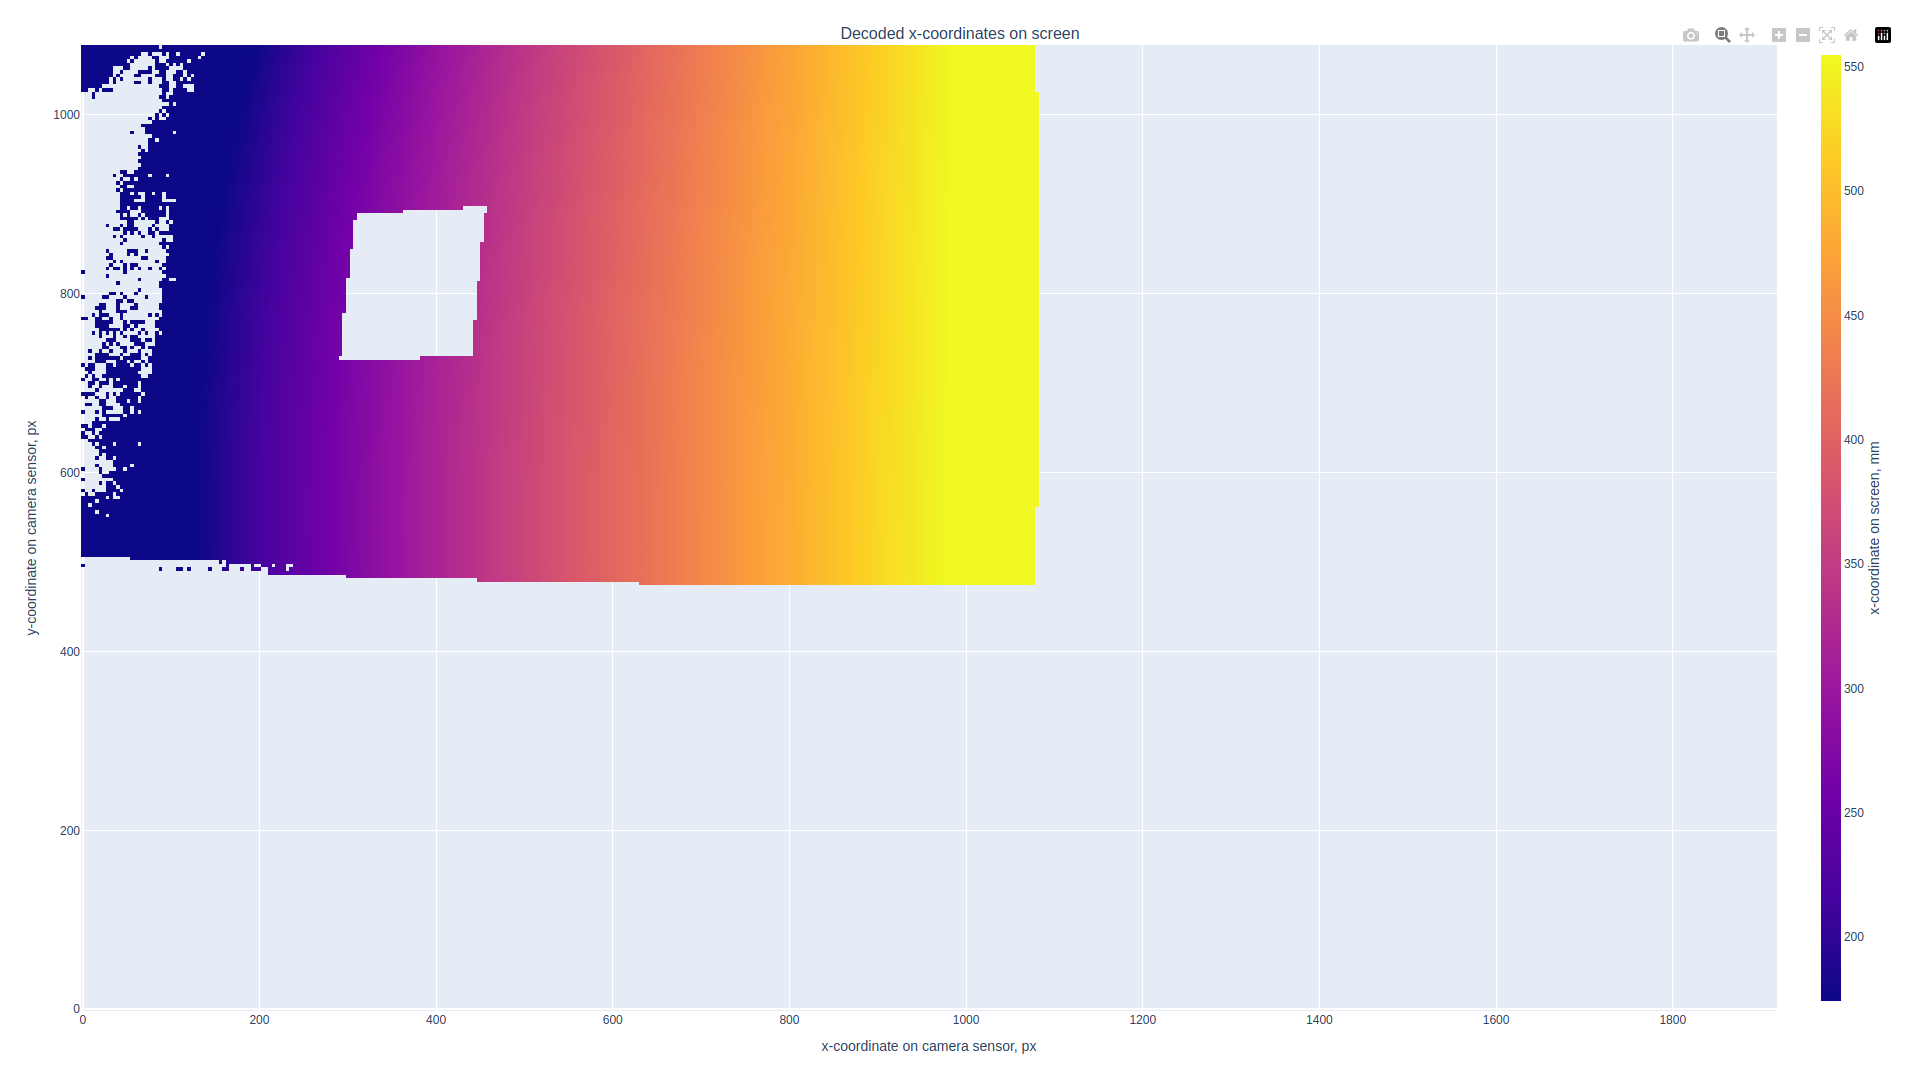
Where did the data go? During one of the subsequent experiments, noticing a similar chart, I started looking for the reason for the data loss. In the camera viewfinder, everything looked fine, and the reason was found in the dark frames – it turned out to be a glare from the window on the monitor, something like this:
From here, I identified several important rules for myself:
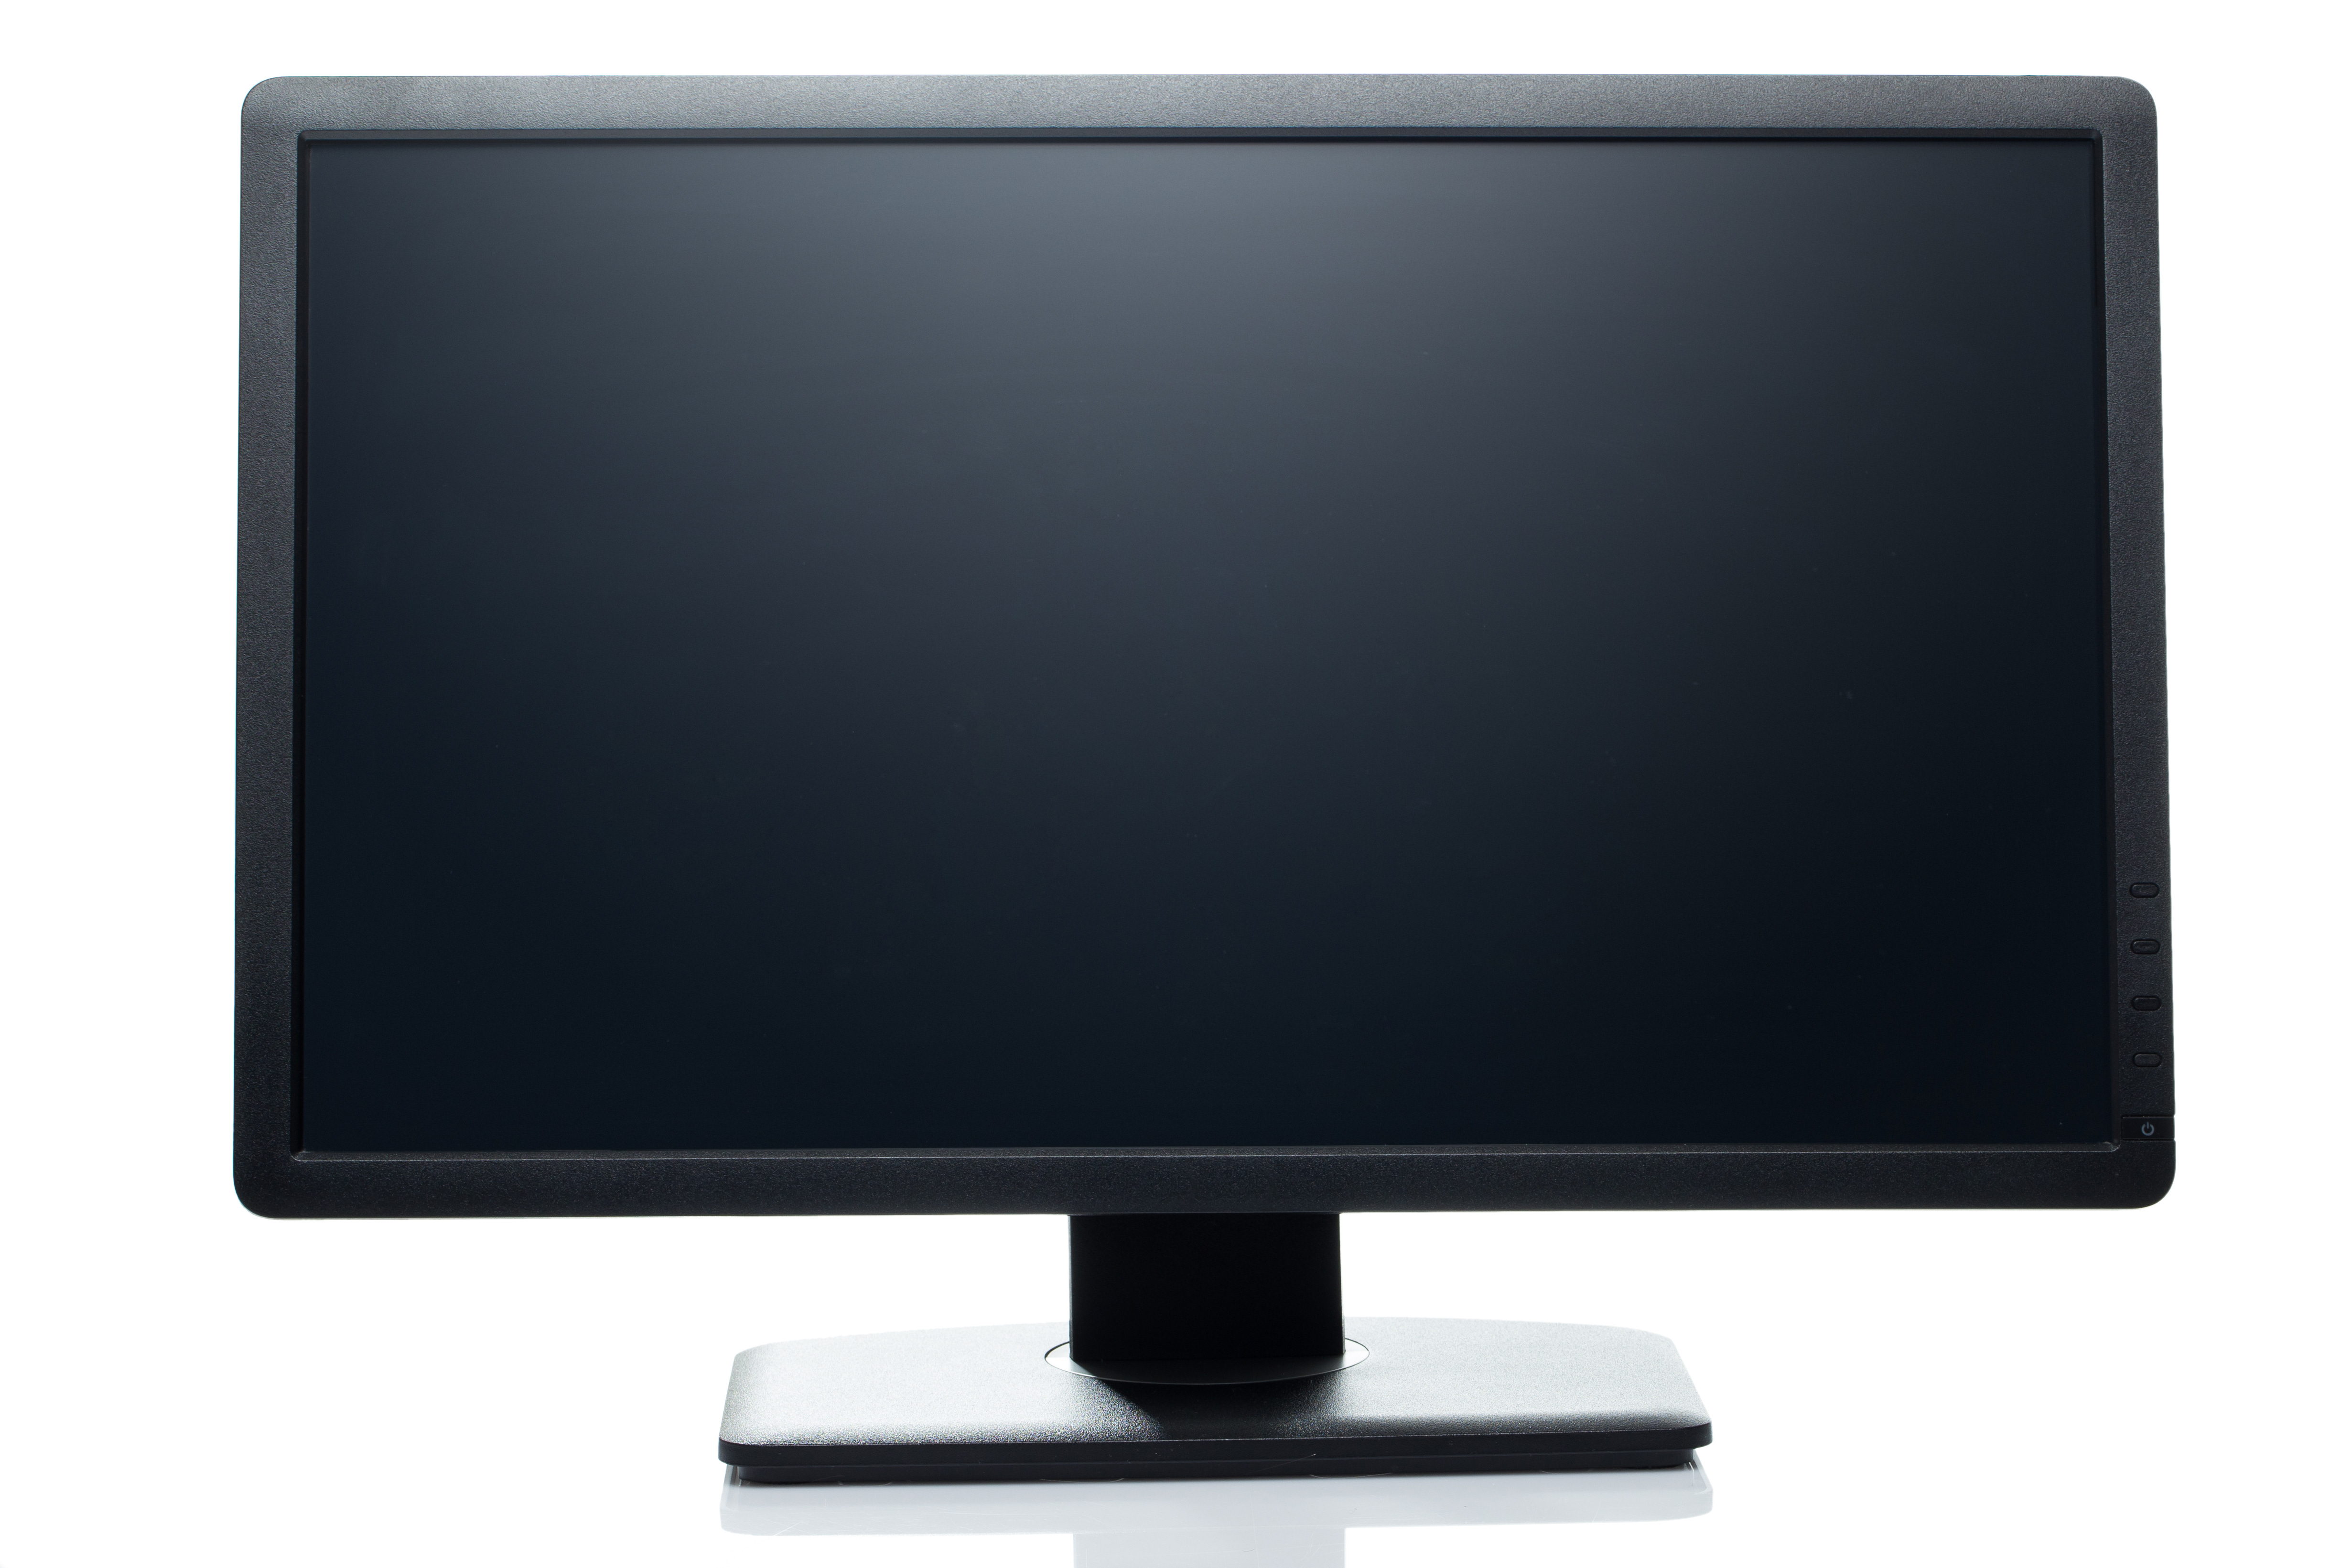
Do not place the monitor opposite a window; the same applies to other light sources to avoid glare and reflections. Below is an example of how light should not fall.
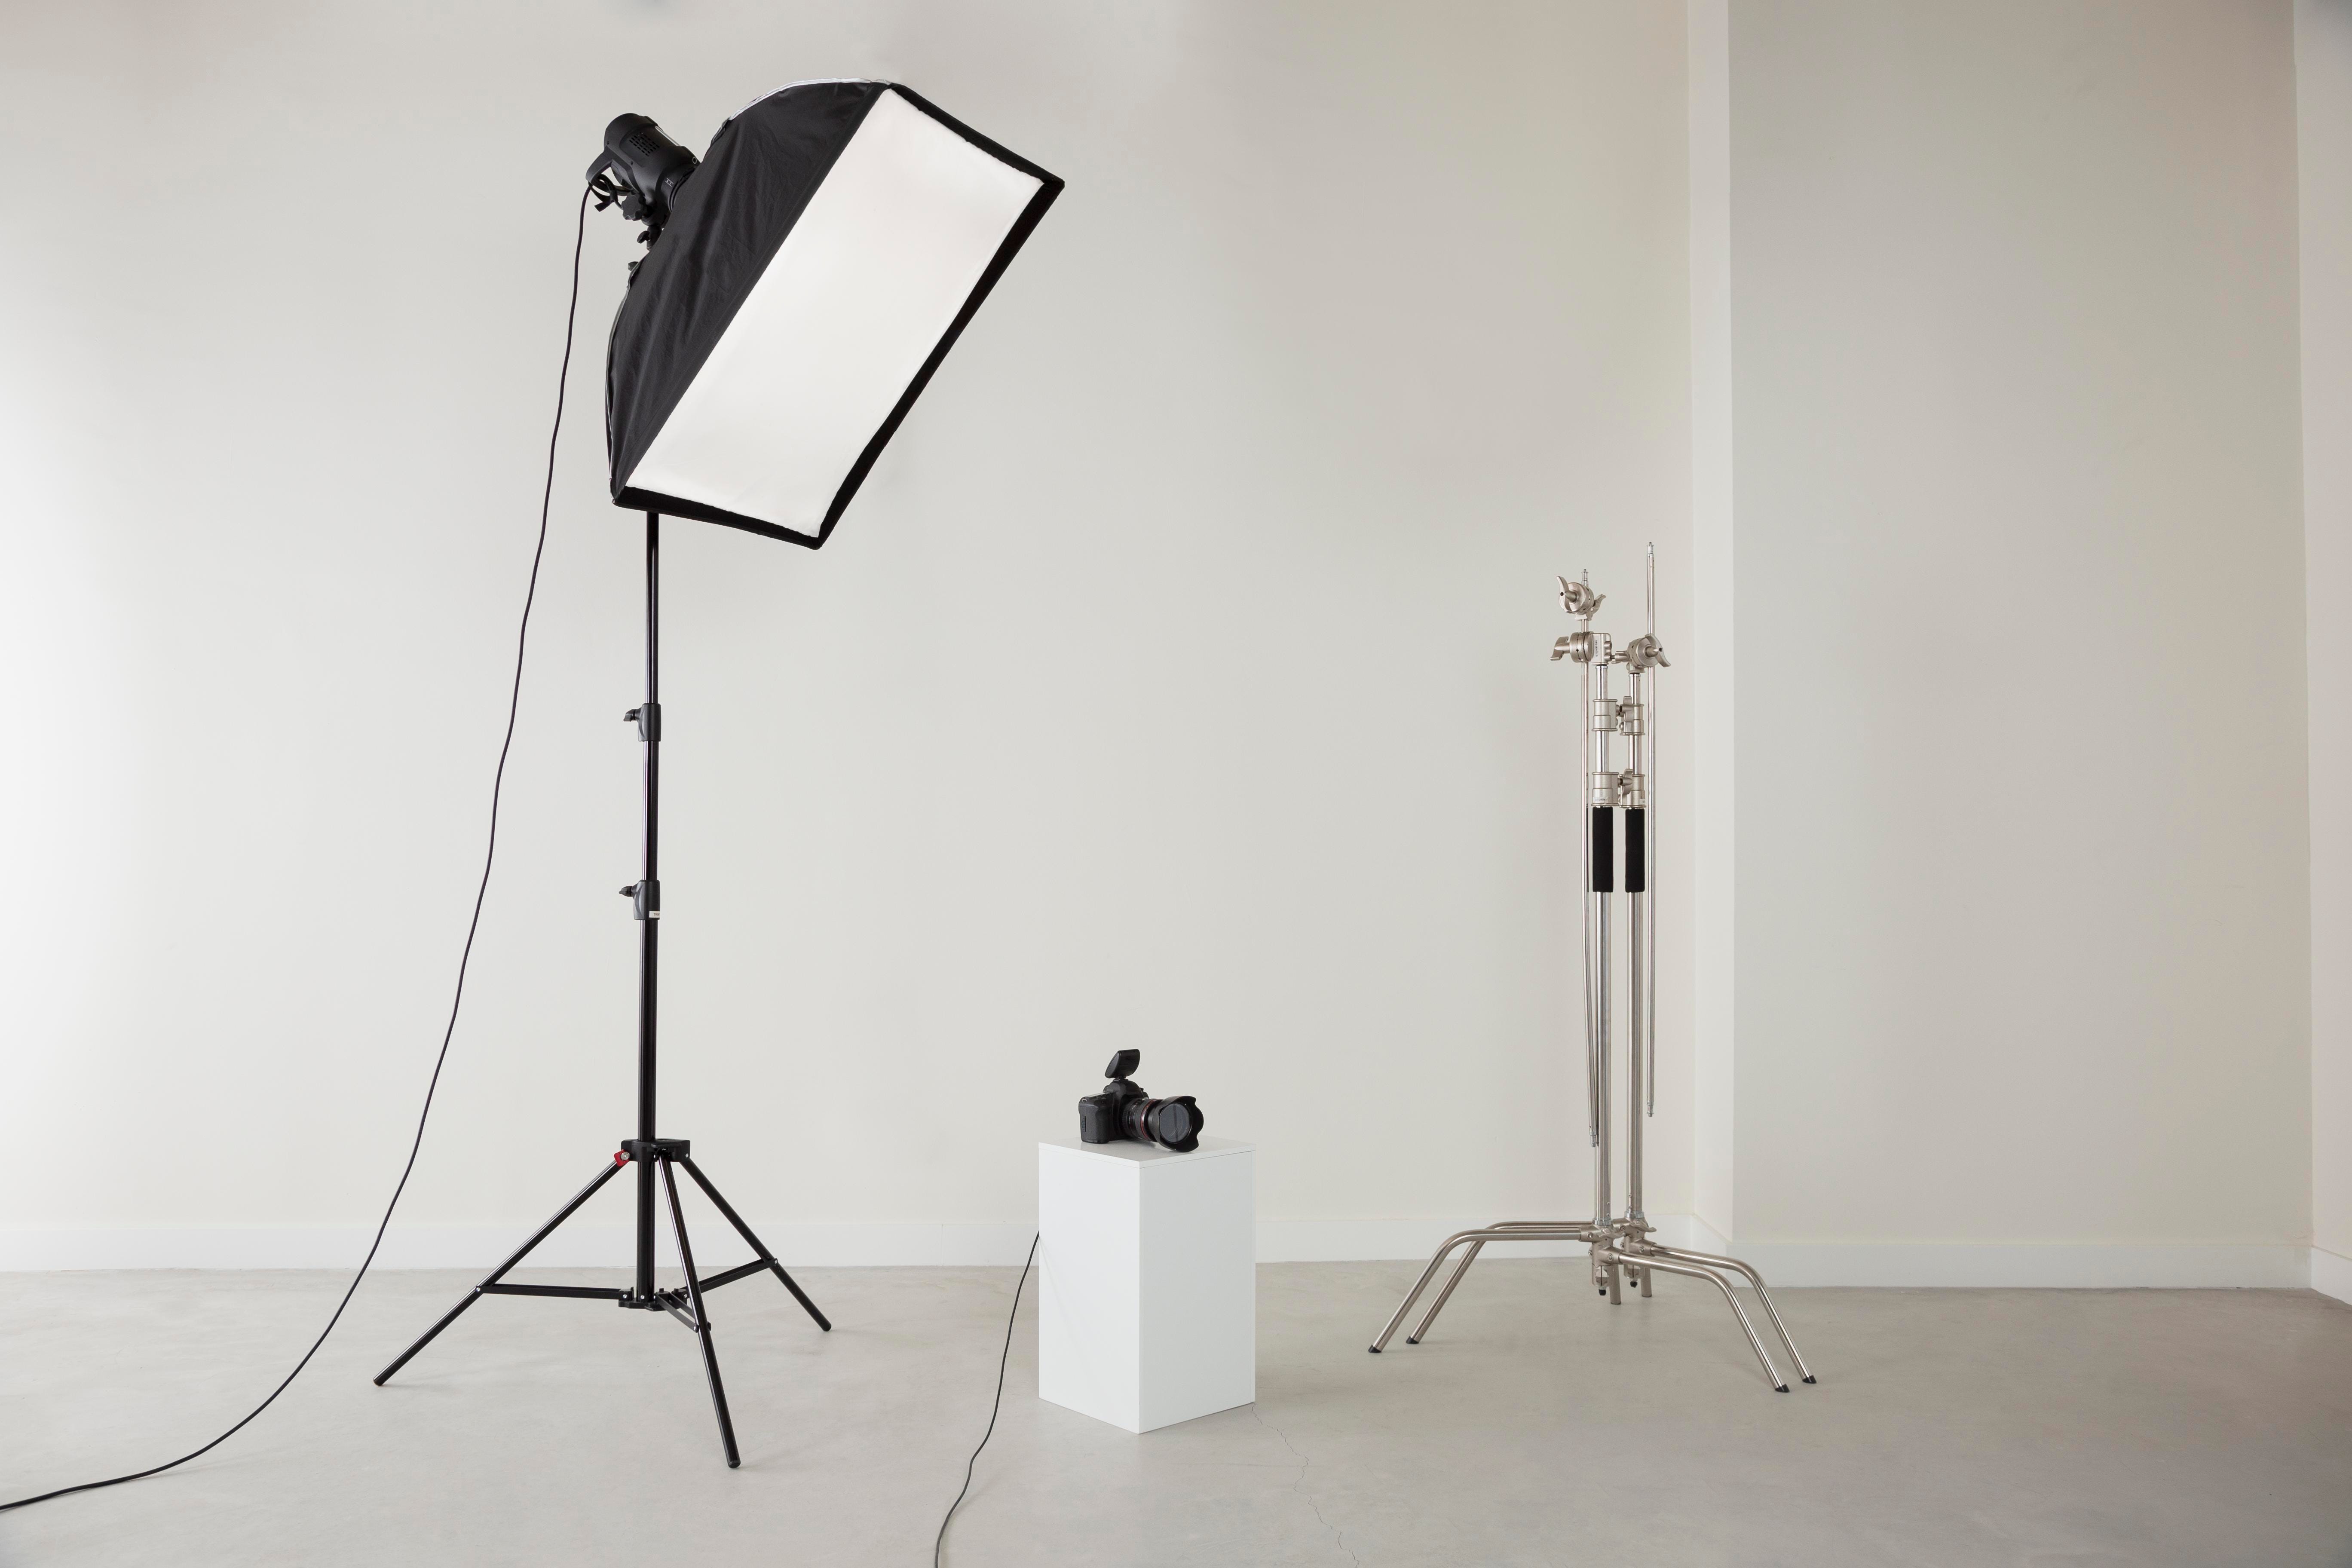
Soft light is the key to success. Ideally, diffused light should be placed to the side of the camera and monitor. For a more advanced setup, you can use softboxes, umbrellas, or reflectors.
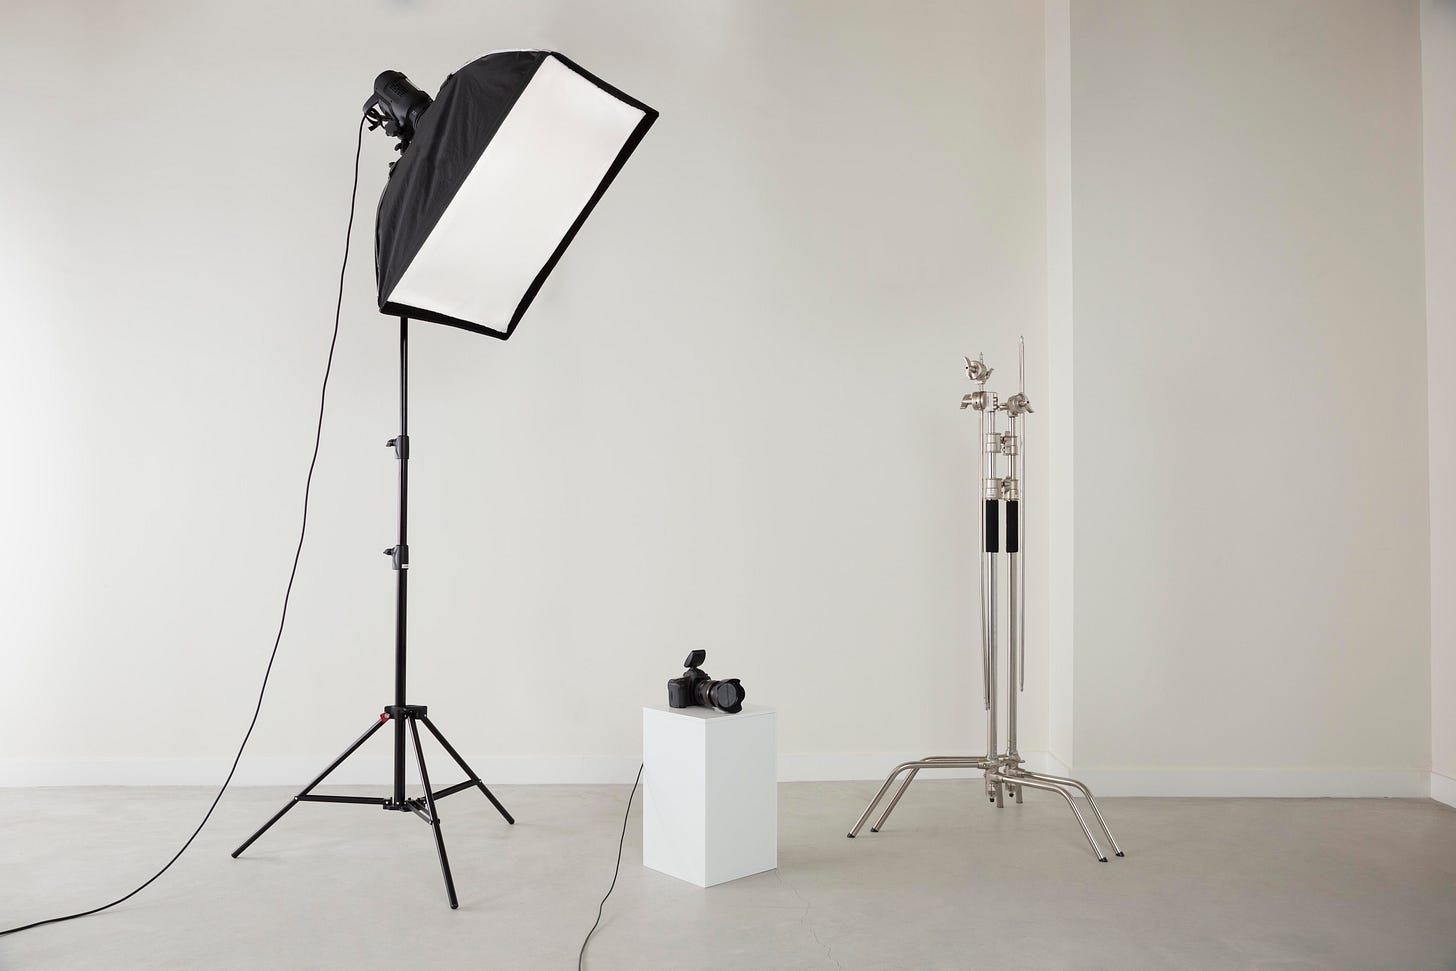
Designed by Freepik Whenever possible, remove anything that can reflect light well.
Try to avoid fluorescent lighting, as it causes flickering in the image. Based on my practice, LED lighting is best suited for shooting. Modern cameras have a flicker suppression feature, but it doesn’t always work correctly.
Video taken from dunduncan12 channel
Ensure that when moving the camera relative to the monitor, the camera sensor does not become overexposed.
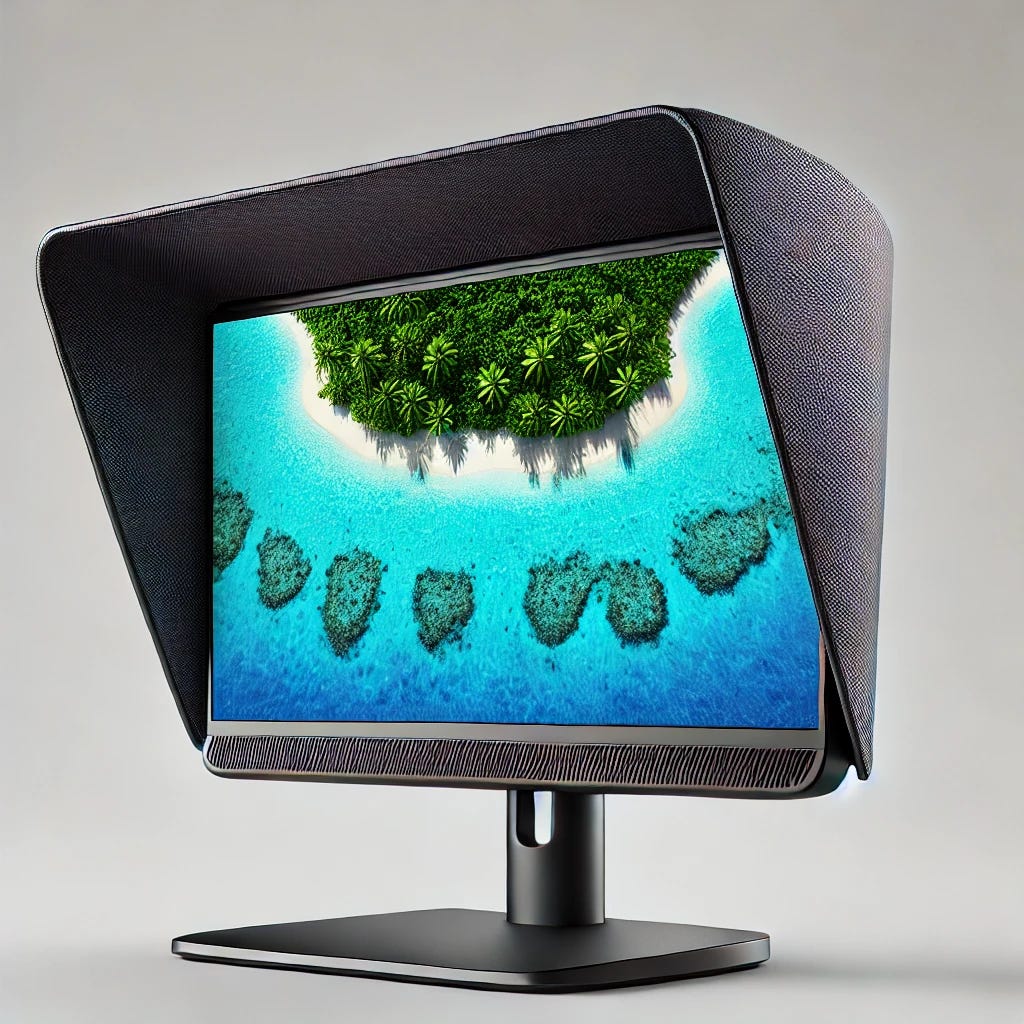
This does not exactly concern lighting, but in my opinion, it’s better to use a monitor with an anti-glare (matte) coating for calibration since glossy ones will reflect everything in front of the monitor. However, even following these tips, shooting on a glossy monitor can be quite effective. For a more advanced setup, you can use a monitor hood like this one.
Camera settings
Modern cameras are quite smart, with many built-in assistants that can help us take great shots with almost no effort. However, as it turned out during camera calibration, these assistants definitely become a hindrance. For example, when switching calibration patterns, autofocus and auto exposure activate, and this position is no longer recognized by the algorithms. It is worth noting that modern cameras often correct geometric distortions, but only at a basic level, which is absolutely unsuitable for cameras requiring high precision. Considering all the above, my recommendations for camera settings are:
Disable all possible assistants.
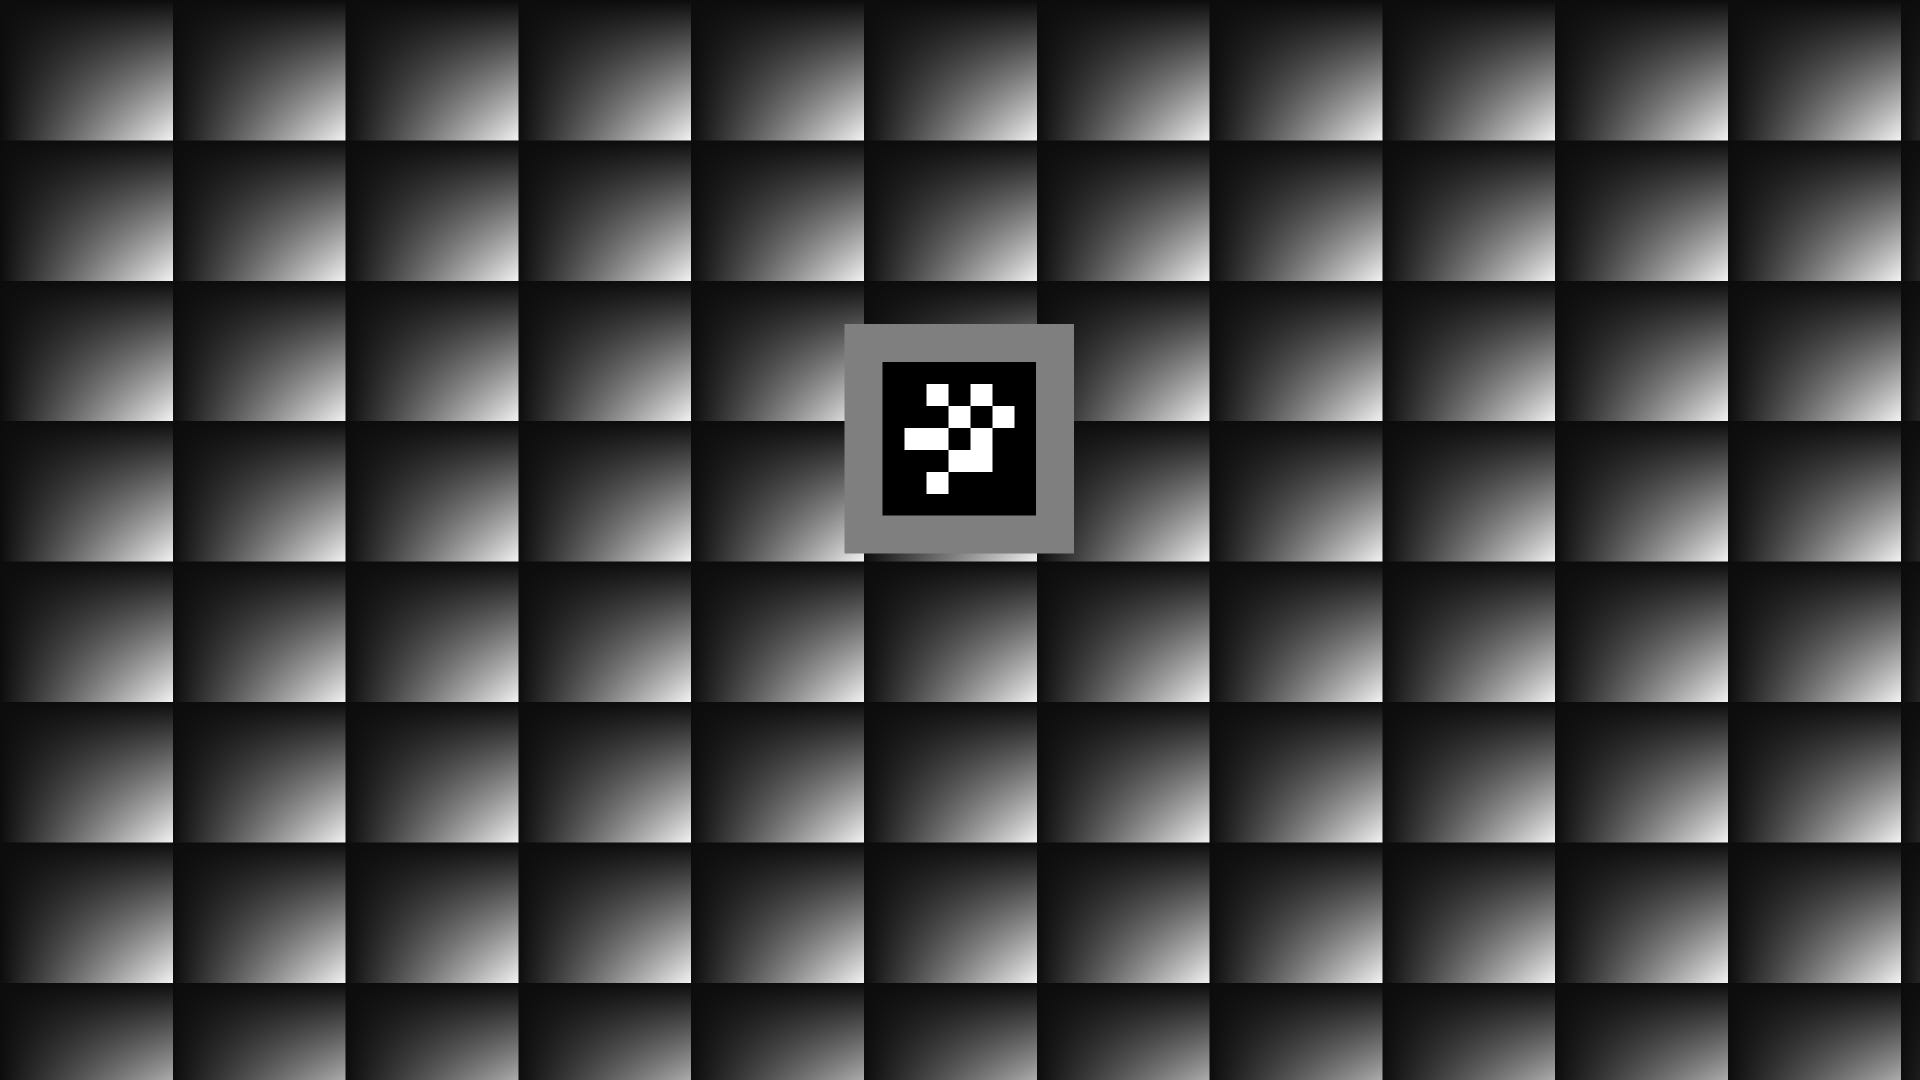
After determining the starting position, enable manual mode in the calibration master (we consider it using the Radiant Metrics as an example) and select the pattern you can see below.

Go to the camera settings and switch all possible settings (sensitivity, focus, etc.) to manual mode, then lock them at values where the image doesn’t look overexposed, dark, or blurry. The possibilities and nuances of settings depend on the specific camera and are often available online. If you have additional questions, contact us.
Once the focus is fixed, do not change it until you finish shooting.
Start shooting a little earlier, enable delay before recording, or use a remote control to ensure the first frames do not capture camera shake.
With DSLR cameras, you can use a life hack: in automatic mode, focus on the pattern mentioned above, and then manually fix the parameters set by automation.
If you see flickering in the camera viewfinder, switch the flicker elimination mode to another value.
Camera positions
Now the lighting is set, and the camera is adjusted, so we proceed to shooting. Our key task is to capture the target in every area of the sensor at least once. The calibration master’s sensor coverage map will help us control this. It’s best to use a tripod for moving the camera, as it is simply very inconvenient without one. I’ll say right away that shooting without a tripod is possible but will be a literal test for you, so all recommendations below assume you use a tripod.
To better understand how to move the camera for shooting, let’s add a bit of theory. The space observed by the camera is called a "frustum." Its angular dimensions are determined by the focal length and sensor size, while the focal length and aperture settings define its near and far boundaries. Objects within the frustum will appear on the image and be sufficiently sharp.

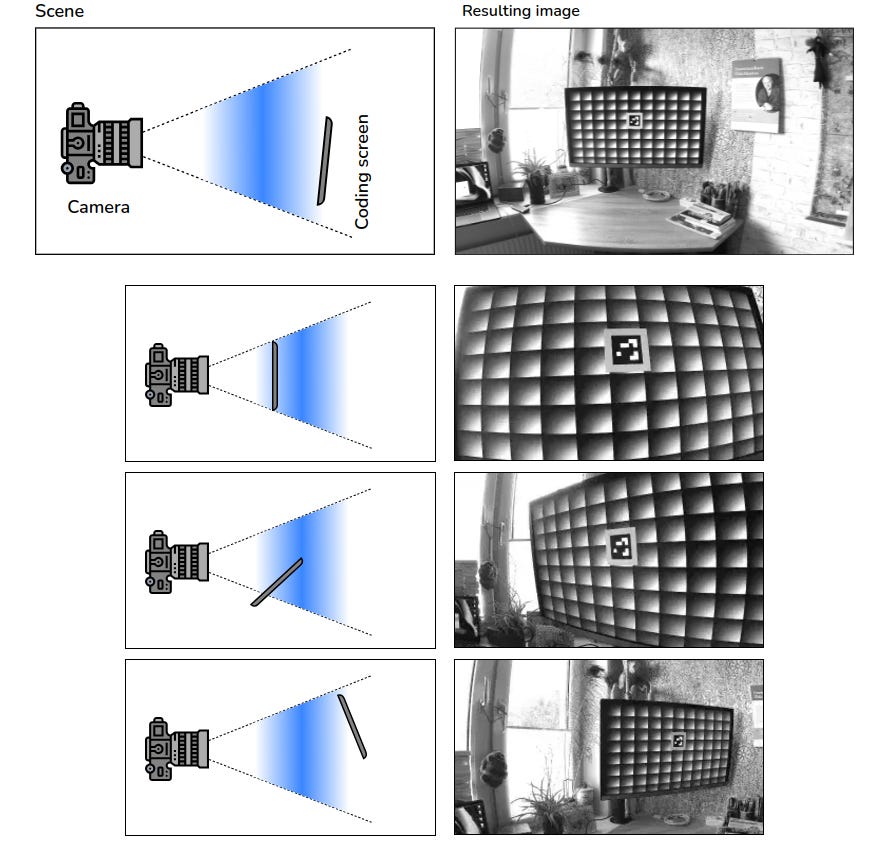
For each new data frame, move and rotate the camera on the tripod, ensuring it remains stable and fixed during shooting. Many modern cameras offer remote control options – use them to the fullest. The marker in the coding patterns should remain visible in all camera positions, though it doesn’t have to fully fit into the frame.
For better calibration, the collected data frames should cover several positions and orientations of the camera relative to the coding screen. Alternatively, the coding screen should be positioned in the frustum at different distances and angles to cover as many pixels in the image as possible. Below are some examples of acceptable camera positions.
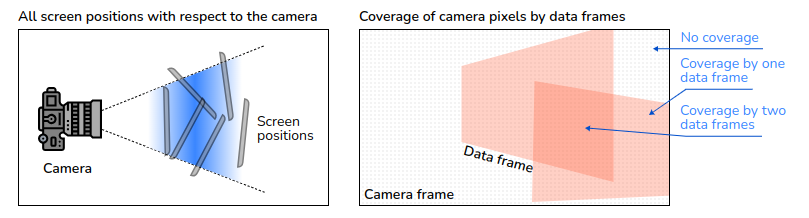
In total, data frames in a high-quality dataset should cover a wide range of sensor angles. Most camera pixels should be covered by at least two datasets. Edges of the sensor often receive less coverage, but this is where the maximum geometric distortion occurs, so keep this in mind during shooting.
Conclusion
Setting up lighting, adjusting the camera, and positioning can be called the three pillars of successful calibration. This article cannot cover all nuances but will help you avoid basic mistakes. No matter how simple the calibration process seems, the final result will directly depend on the data you collect.
Have questions or want to share your experience? Leave comments below!